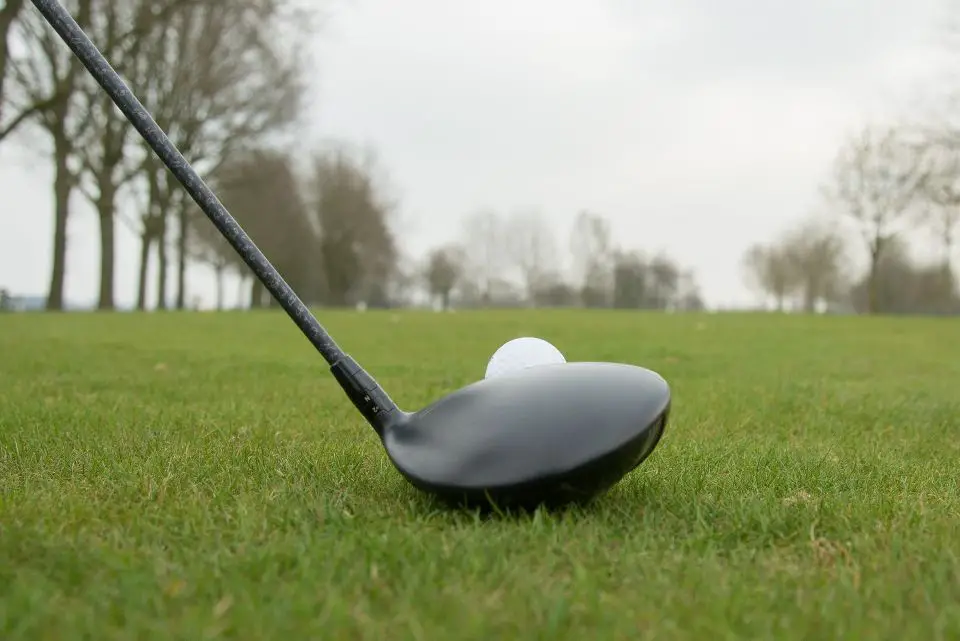
Driver marks can make the most modern of drivers look worn or dated. And unfortunately, driver marks are very easy to accumulate on the driver face throughout your round.
While usually not a big deal when it comes to performance, they can be an eye sore. Golfers who take pride in their golf gear always want their clubs looking their best so its no surprise that they would want to prevent or remove ball marks from their driver’s face.
In the article below, we will cover all you need to know about removing ball marks from your driver face. Plus, we will cover the main cause of marks on your driver face and if they will affect your game. We have a lot to cover so lets get started!
What Causes Ball Marks On Your Driver?
Not all marks on your driver head are caused by a golf ball. Both your golf ball and your golf tee can cause marks on your driver face. The impact of a golf ball hitting the driver can create ball marks, while the edges of a golf tee can also leave marks on the club face.
Regardless of what causes the ball mark, they both can be removed in the same way. Let’s take a look in the section below.

How To Remove Ball Marks From Driver Face
There are several methods you can use to remove ball marks from your driver face. We cover our 3 favorite methods for driver mark removal below.
Brush and Towel
One of the easiest ways to remove ball marks is to use a soft-bristled brush and a clean, dry towel. Gently brush off any loose dirt or debris, then use the towel to wipe down the head of the driver. You can also use a small amount of water to help loosen any stubborn marks. Just be sure to dry the club thoroughly to prevent rusting.
Clorox Wipes
Another effective method is to use Clorox wipes. Clorox wipes are specifically designed to remove dirt and grime. They can be particularly helpful for removing ball marks that are difficult to lift with a brush or towel. Simply wipe the head of the driver with the Clorox wipe, then use a dry towel to wipe away any excess moisture.
Magic Eraser
The Magic Eraser is a powerful cleaning tool that can be used to remove ball marks from your driver face. Simply wet the Magic Eraser with a small amount of water, then gently rub it over the ball mark until it disappears. Be sure to follow the instructions on the package and use caution when using the Magic Eraser, as it can be abrasive and may damage the club if used too aggressively.
Can Driver Marks Be Prevented?
It depends on what is causing the ball mark. Marks caused by golf balls will be hard to avoid, as they are an inherent part of the game. However, marks created by golf tees can be avoided by using softer, more flexible tees that are less likely to leave marks on the club face. Avoid painted tees too as they typically will leave a mark at impact.
Can Ball Marks Affect Your Ball Flight?
In most cases, ball marks on your driver face will not have a significant impact on your ball flight. However, if the mark is deep or affects a large portion of the club face, it could potentially affect the way the ball comes off the club.
What Ball Marks On The Driver Face Can Tell Us
While ball marks may be unsightly, it’s important not to clean them off too quickly. Driver marks can give golfers great insight into where they are striking the ball at impact. By examining the location and depth of the marks on your driver, you can identify any issues with your swing or ball striking and make adjustments accordingly.
Final Thoughts
Removing ball marks from your driver face is a simple process that can help to maintain the appearance and performance of your club. Whether you use a brush and towel, Clorox wipes, or a Magic Eraser, there are several effective methods to choose from. And by taking care to prevent ball marks from occurring in the first place, you can keep your driver looking its best for rounds to come.
Hopefully, you liked this article and found it informative. Check out our other blog posts if you liked this one!


