
So, you’ve decided to build your own at-home driving range. Or better yet, you decided to go all in and build an at-home golf simulator.
You know you have golf in your blood when you need your own personal golf training center at home. It is a big step in advancing your game and shows your commitment to improving your golf score.
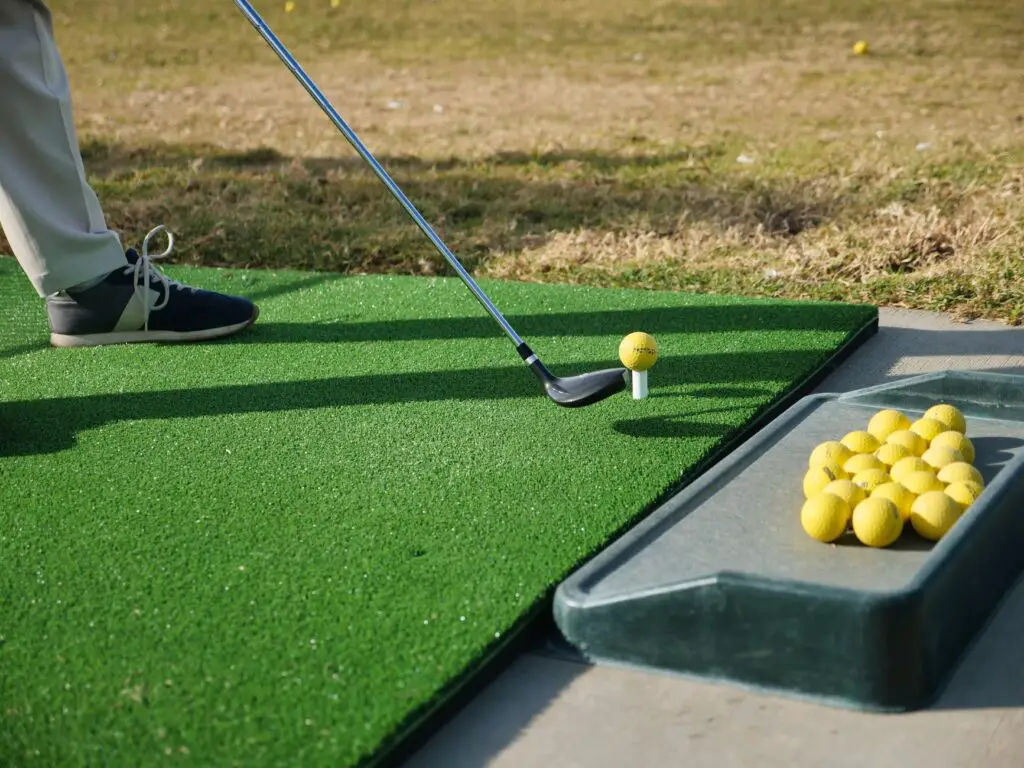
Setting up you at-home golf practice center is not as easy as it seems. One of the most common challenges is securing the golf mat to the ground to avoid slippage and bunching.
Whether you are trying to mount your golf mat to concrete, grass, or another surface, safely and soundly securing your golf mat can be tricker than you would think.
If you are encountering issues with your golf mat slides, do not worry, we have you covered. Keep reading below for 5 simple tips on stopping your golf mat from sliding.
5 Simple Ways To Stop A Golf Mat From Sliding?
Affiliate Disclosure: Buying products through the links on the site helps us fund new and better content. As an Amazon Associate, we earn from qualifying purchases. We may receive commissions for purchases made through links in this post. Thank you for your support!
1.) Non-Slip Rubber For Hard Surfaces
These anti-slip rubber strips will perfectly grip to most types of surfaces. Using this approach is excellent for flat, solid surface such as cement, hardwood, or plywood.


Depending on the type of artificial turf, it is possible that the adhesive may not stick as well as expected to the back side of the mat.
These pads have a strong adhesive which does not allow them to come off from furniture legs and tightly hold the pads for a long time.
⛳ Pro Tip: Depending on the type of artificial turf, it is possible that the adhesive may not stick as well as expected to the back side of the mat.
In this case, you can buy epoxy to secure the rubber strips to the mat. If you do choose to use epoxy, be sure to plan out the exact location of where you want to place the strips on the mat. Most epoxies will set it for minutes.
2.) Velcro Strips
Velcro strips are another excellent choice for securing your golf mat. Velcro works especially well when securing to carpet or other non-slick surfaces. Similar to the rubber strips, attach the Velcro to the corners of the golf mat for optimal slip resistance.


- Dual Lock Re-closable Fastener is the convenient alternative to traditional fastening methods, such as screws, nuts or bolts. It is designed to deliver a durable, re-closable fastening solution (which can be opened and closed multiple times) which bonds to a variety of substrates including metals and plastics such as acrylics, polycarbonate and ABS.
- How to use: 1 Cleaning the surface( with adhesion promotor if possible). 2 Wipe dry the surface. 3. Adhering pressing the tape. 4. Waiting for around 24 hours to obtain best bonding strength( the bond strength will achieve 90% after 24 hours). Do not touch the sticky side with your finger and other things before apply.
⛳ Pro Tip: Velcro strips are a simple yet effective way to ensure slip resistance during your practice sessions, particularly on non-slick surfaces like carpet.
With Velcro, you'll enjoy the benefits of versatility, easy installation, reusability, and a strong grip, all of which contribute to a more enjoyable and productive golf practice experience.
3.) Try Adhesive(s) To Secure The Golf Mat
Directly securing the golf mat to the location using glue or an adhesive is another, more permanent option. This is a good option if you have a dedicated area that you are planning to use frequently.
Using an adhesive rather than using materials like Velcro or Rubber Mats will ensure a flat surface.
If you choose to take this approach, be sure to take your time and plan out the exact location. Once the adhesive is applied, it will be difficult to remove.
When applying the mat to the floor, it is important to work from one side to the other. This will help in avoiding any bunching of the mat, so you have a flat smooth surface.
4.) Attach The Mat To Plywood
If you need a hitting area that is moveable and flat, it may make sense to attach your mat to plywood. This is a great option for a portable set up. If you chose to go this route, you may also need to use the anti-slip rubber strips or Velcro methods described above.
Installing holes in the corners of the newly attached golf mat on the plywood is another method for securing the mat.
Outdoor use can use landscaping nails or railroad ties to fix it to the ground. For indoor use, permanent locations may want to screw or nail the plywood mat directly into floor.
5.) Nail The Mat Using Landscaping Nails or Staples
If you are using the golf mat outside in a non-permanent location, nailing the mat into the ground using landscaping nails or staples is a viable solution. This is a great portable option for those limited on space or who do not want a dedicated area for their range.

How Do I Keep My Golf Mat From Sliding On Carpet?
We would suggest using the Velcro method above when securing a golf mat to carpet. The Velcro strips will lock into the carpet, giving the best slip resistance. The rubber strip approach will also work on carpet but would be a second option on our list.
How Do You Level A Golf Mat?
Depending on the approach you use, you may need to level the area underneath your golf mat. For outdoor spaces, you can prepare the area with packing stone then cover with topsoil.
Use a level to move the soil for a level surface. Lastly, tamp down the soil to ensure no settling of the soil.
For indoor spaces, using plywood as described above is your best option. For permanent usage, secure the plywood directly to the floor using screws or nails.
Portable sets ups should leverage the anti-slip rubber strips or Velcro to secure the plywood.
Final Thoughts?
Setting up your own golf simulator or driving area is a great way to practice your game every day. Figuring out all the details like where to place it or what all you need can be overwhelming.
Luckily for you, securing your golf mat will be the least of your worries if you follow the tips above.
Hopefully you liked this article and found it informative. Check out our other blog posts if you liked this one!
